Overview
UCSF provides Microsoft OneDrive for secure cloud file storage. Let’s review the process to transfer your Shared Drive files to Microsoft OneDrive.
Considerations
Prior to migrating your files from Shared Drive to Microsoft OneDrive, consider:
- Migrating your files sooner rather than later to ensure that you have continued access to your files. Designate one person from your group to move the files from the shared drive to ensure that migrated files are not duplicated. Learn more about transferring files from a Shared Drive to Microsoft OnerDrive.
- Only migrating the files that you intend to use in the future. Once your files are in OneDrive, make your edits to the files within OneDrive, not in Drive.
- Being mindful of the content in your files. If the files being migrated include Protected Health Information (PHI) or Personally Identifiable Information (PII), it will automatically be encrypted in OneDrive by CipherCloud.
- Once you have migrated your files, be sure to share them with the colleagues and stakeholders that had access to the files when they resided in the shared drive.
File Transfer Instructions
Step1
Access Microsoft OneDrive
Open a web browser and navigate to Microsoft OneDrive. When prompted with a Microsoft login screen, enter your UCSF email address.
You may be prompted with a UCSF login screen, where you will enter your UCSF email address and password before being able to access to Microsoft OneDrive.
Step2
After OneDrive loads, determine where to upload your files
Navigate to (or create) the desired location to save the files from your shared drive(s).
Step3
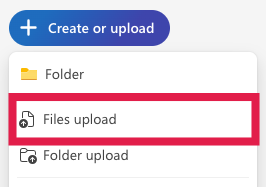
Select the Create or Upload button
Step4
Select the Files Upload option
Prior to selecting and uploading your files, you may want to create a folder structure that is simple to navigate and easy to access. You can create folders by selecting the Create or Upload button before selecting the Folder option.
Step5
Select and upload the files from within the Shared Drive
In the Dialog window, select the Shared Drive from the left-hand navigation or Network location section before navigating the file or folder(s) within the selected drive.
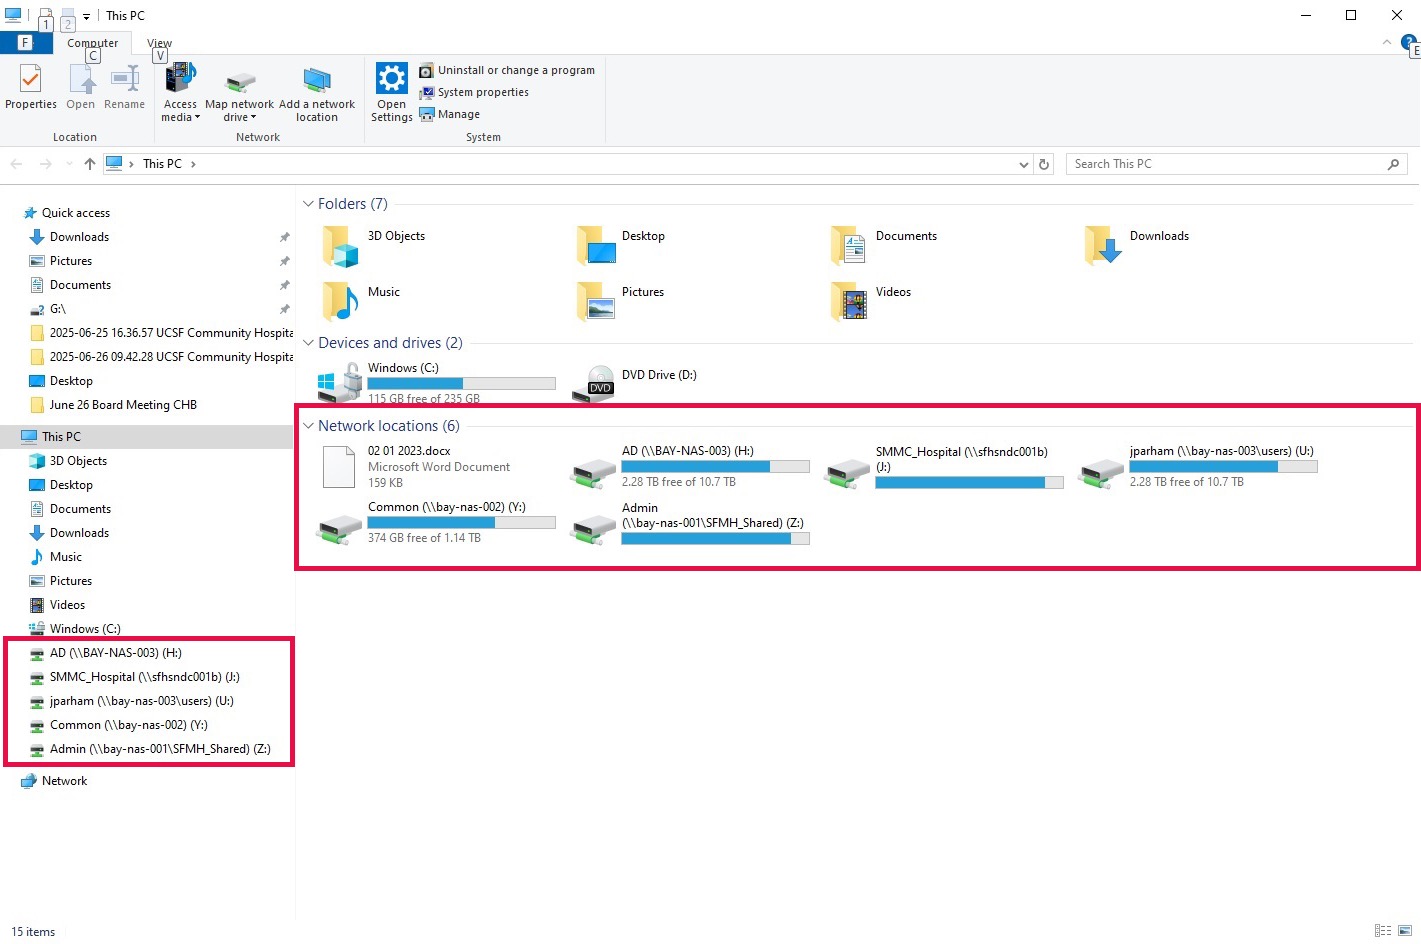
Select all the files or folders (Control+A – Windows or CMD(⌘)+A – Mac) within the Shared Drive to be migrated before clicking the Open button.
Step6
Confirm that your files uploaded successfully
A notification will appear, providing the status of the files being uploaded to OneDrive.
Once the notification updates with a green checkmark, your files will have been successfully transferred from Google Drive to Microsoft OneDrive!

Step7
Share the Shared Drive files or folders with Stakeholders from Microsoft OneDrive
Since colleagues have access to the documents and files that previously resided on the Shared Drive. Once uploaded to OneDrive, be sure to share the uploaded files to the individuals who previously had access to them.
Click the Share button for the file or folder in OneDrive before entering the name or email address of the intended recipient(s) and a message describing the files being shared. Once you have added this information, click the Send button in the Share window to provide access for the recipient(s).